Home Interface
Project List Page
When you open OOMOL Studio, the first screen is the project list.
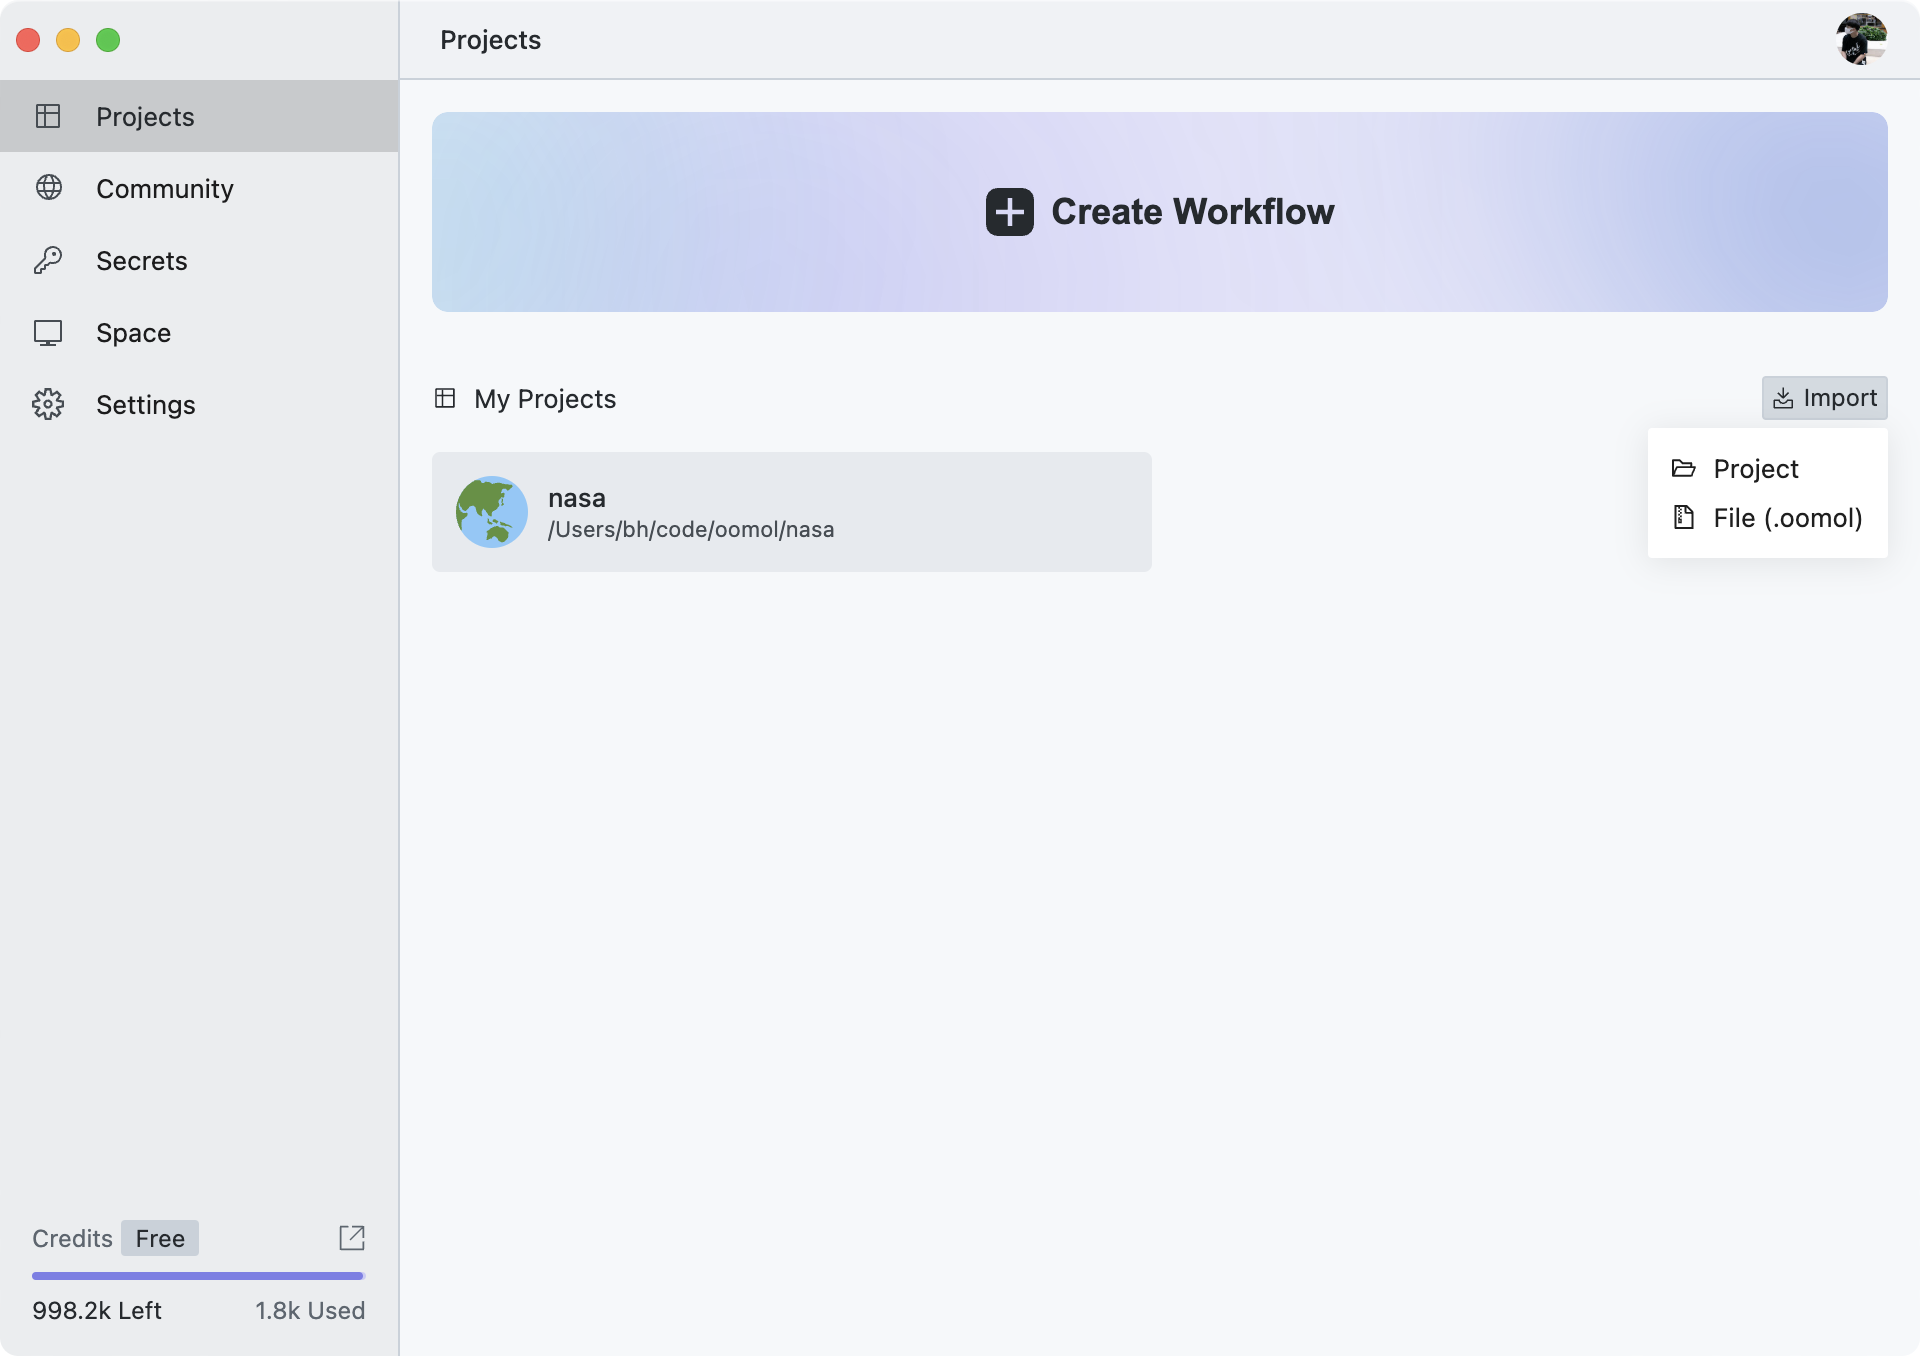

Here you can view all local projects, and also create, import, or delete them.
The left side contains the main navigation. Each entry takes you to a different top-level page, described below.
In the lower-left corner, you can see your current OOMOL Credits balance, recent usage, and a shortcut to credit management.
The main purpose of the OOMOL Credits is to call functions such as code AI completion, AI Agent, AI API, etc.
Since the AI services come from different sources, we use a universal credit system for measurement.
For credit pricing, please refer to the Pricing Page.
When you hover over your personal avatar in the top right corner, a menu will pop up allowing you to manage your account information and app settings.
The Import button on the right lets you import projects. You can either select a local project folder or import from a local .oomol file.
The .oomol file is the project file format for OOMOL Studio, containing all project information and data (excluding secrets). You can export it from the project interface.
Community Page

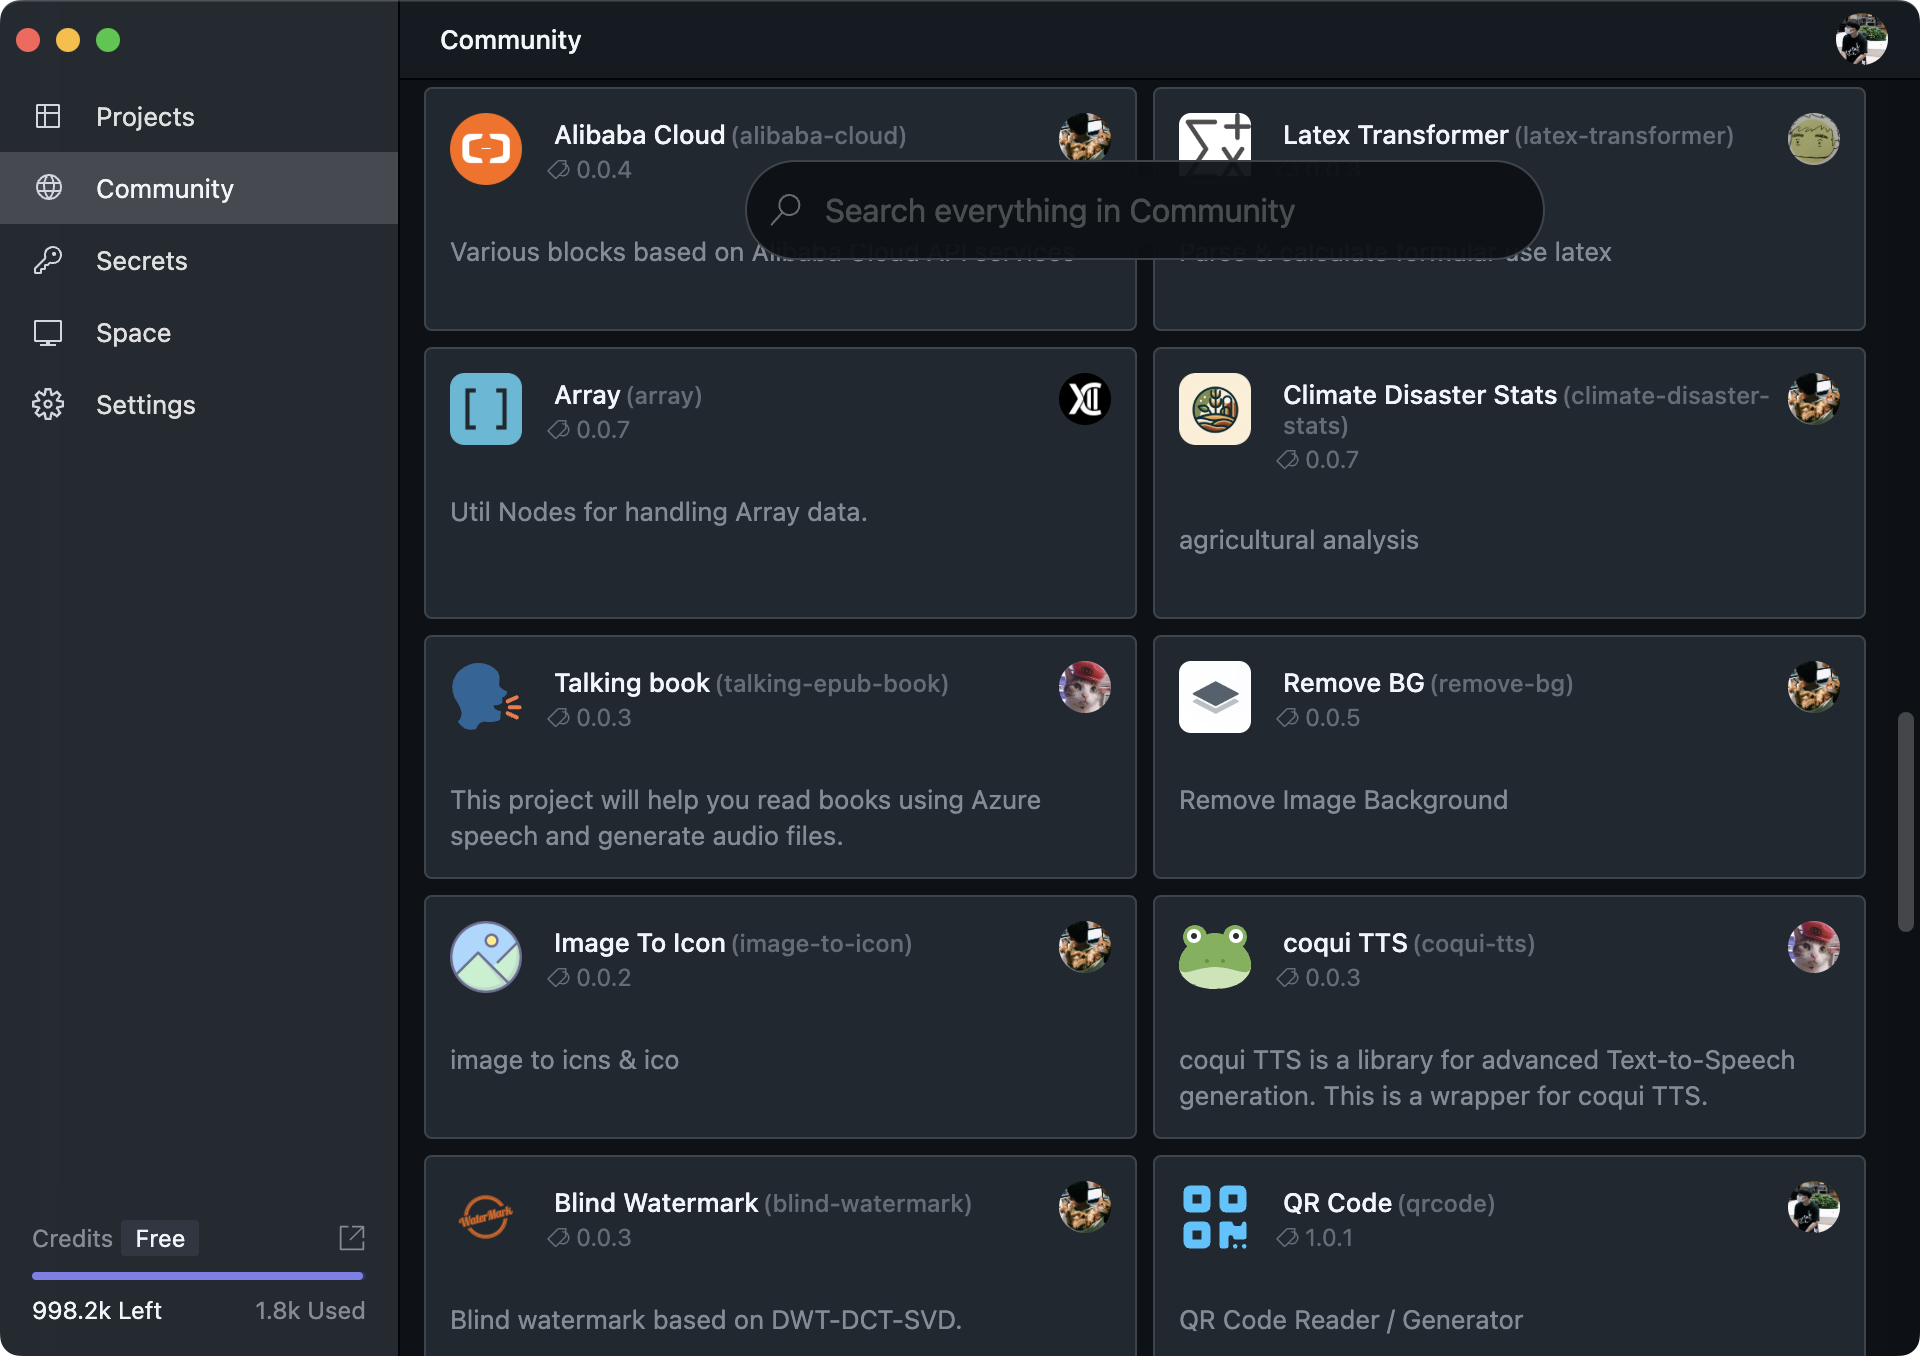
Here you can browse projects and flows shared by the community, and search through them.
You can also open: https://hub.oomol.com/ in any browser.
For more community information, please refer to Community.
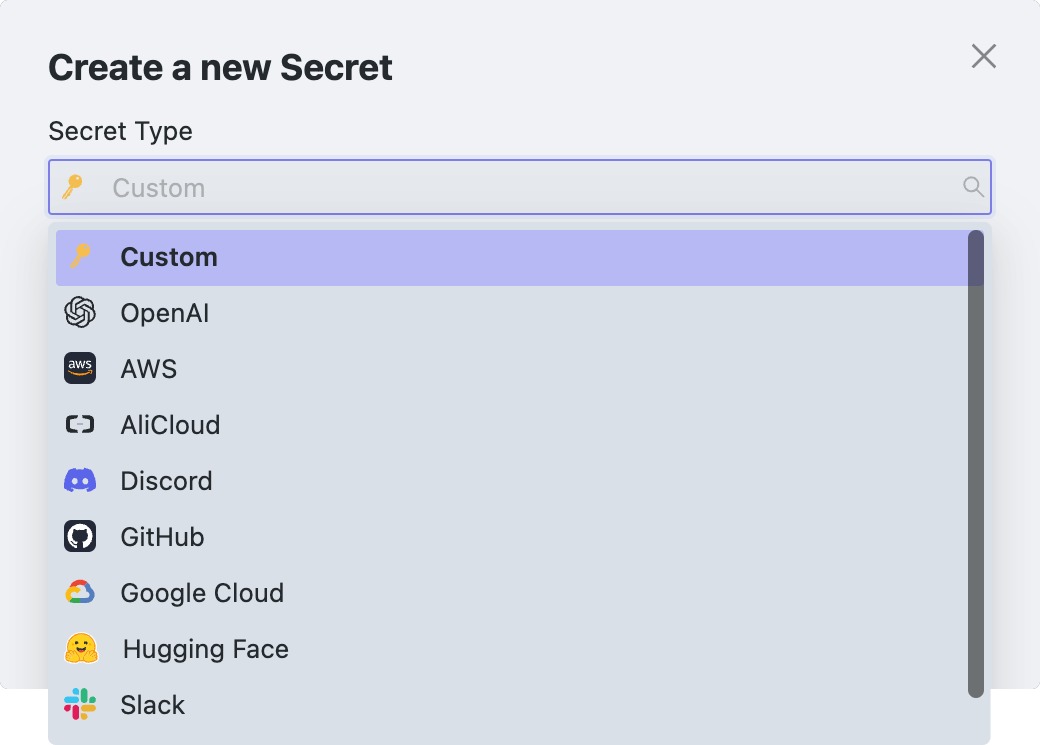
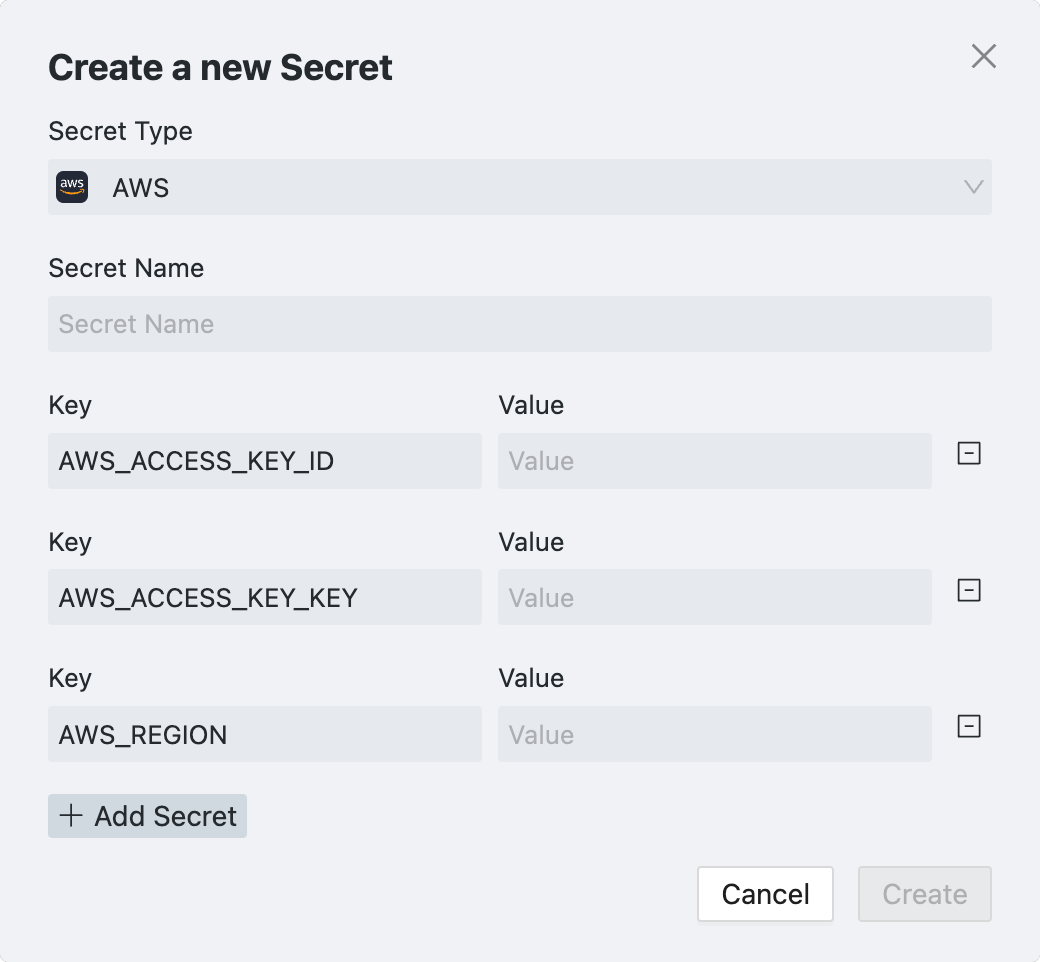
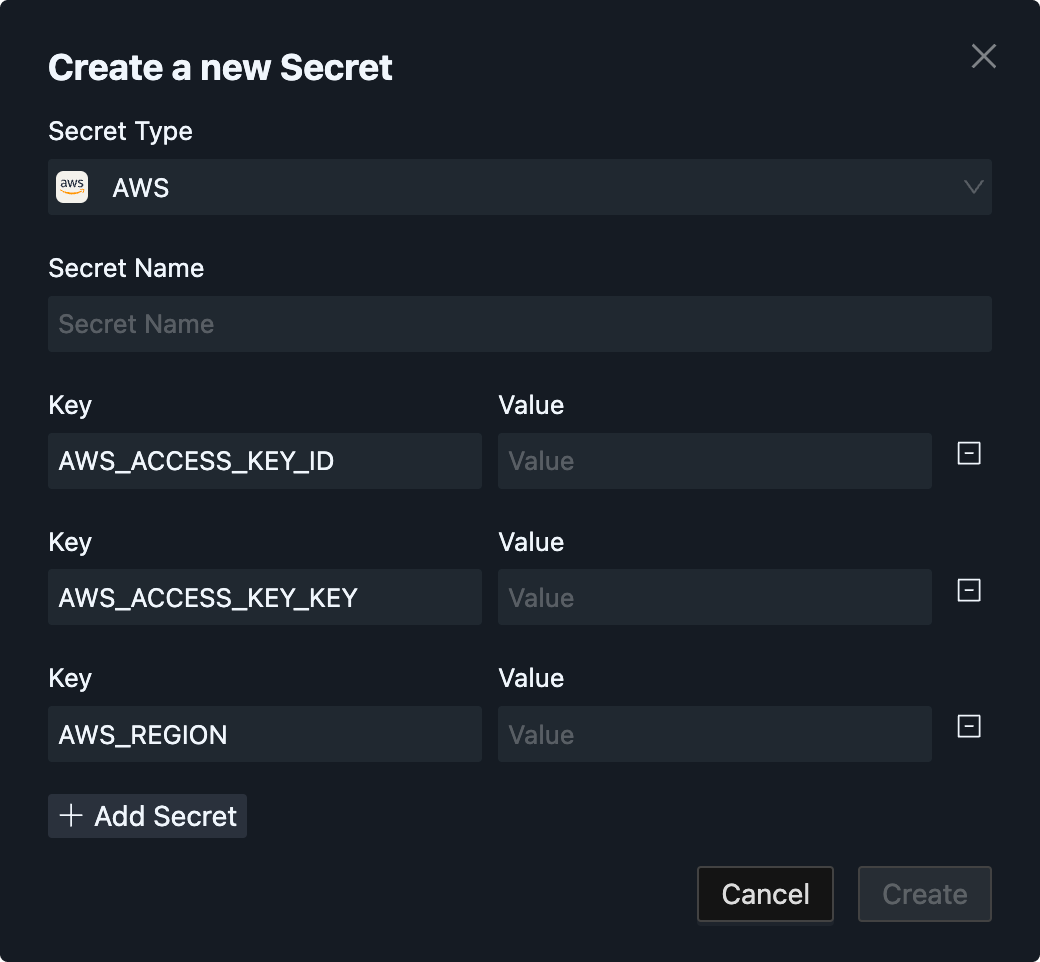
Secrets Page
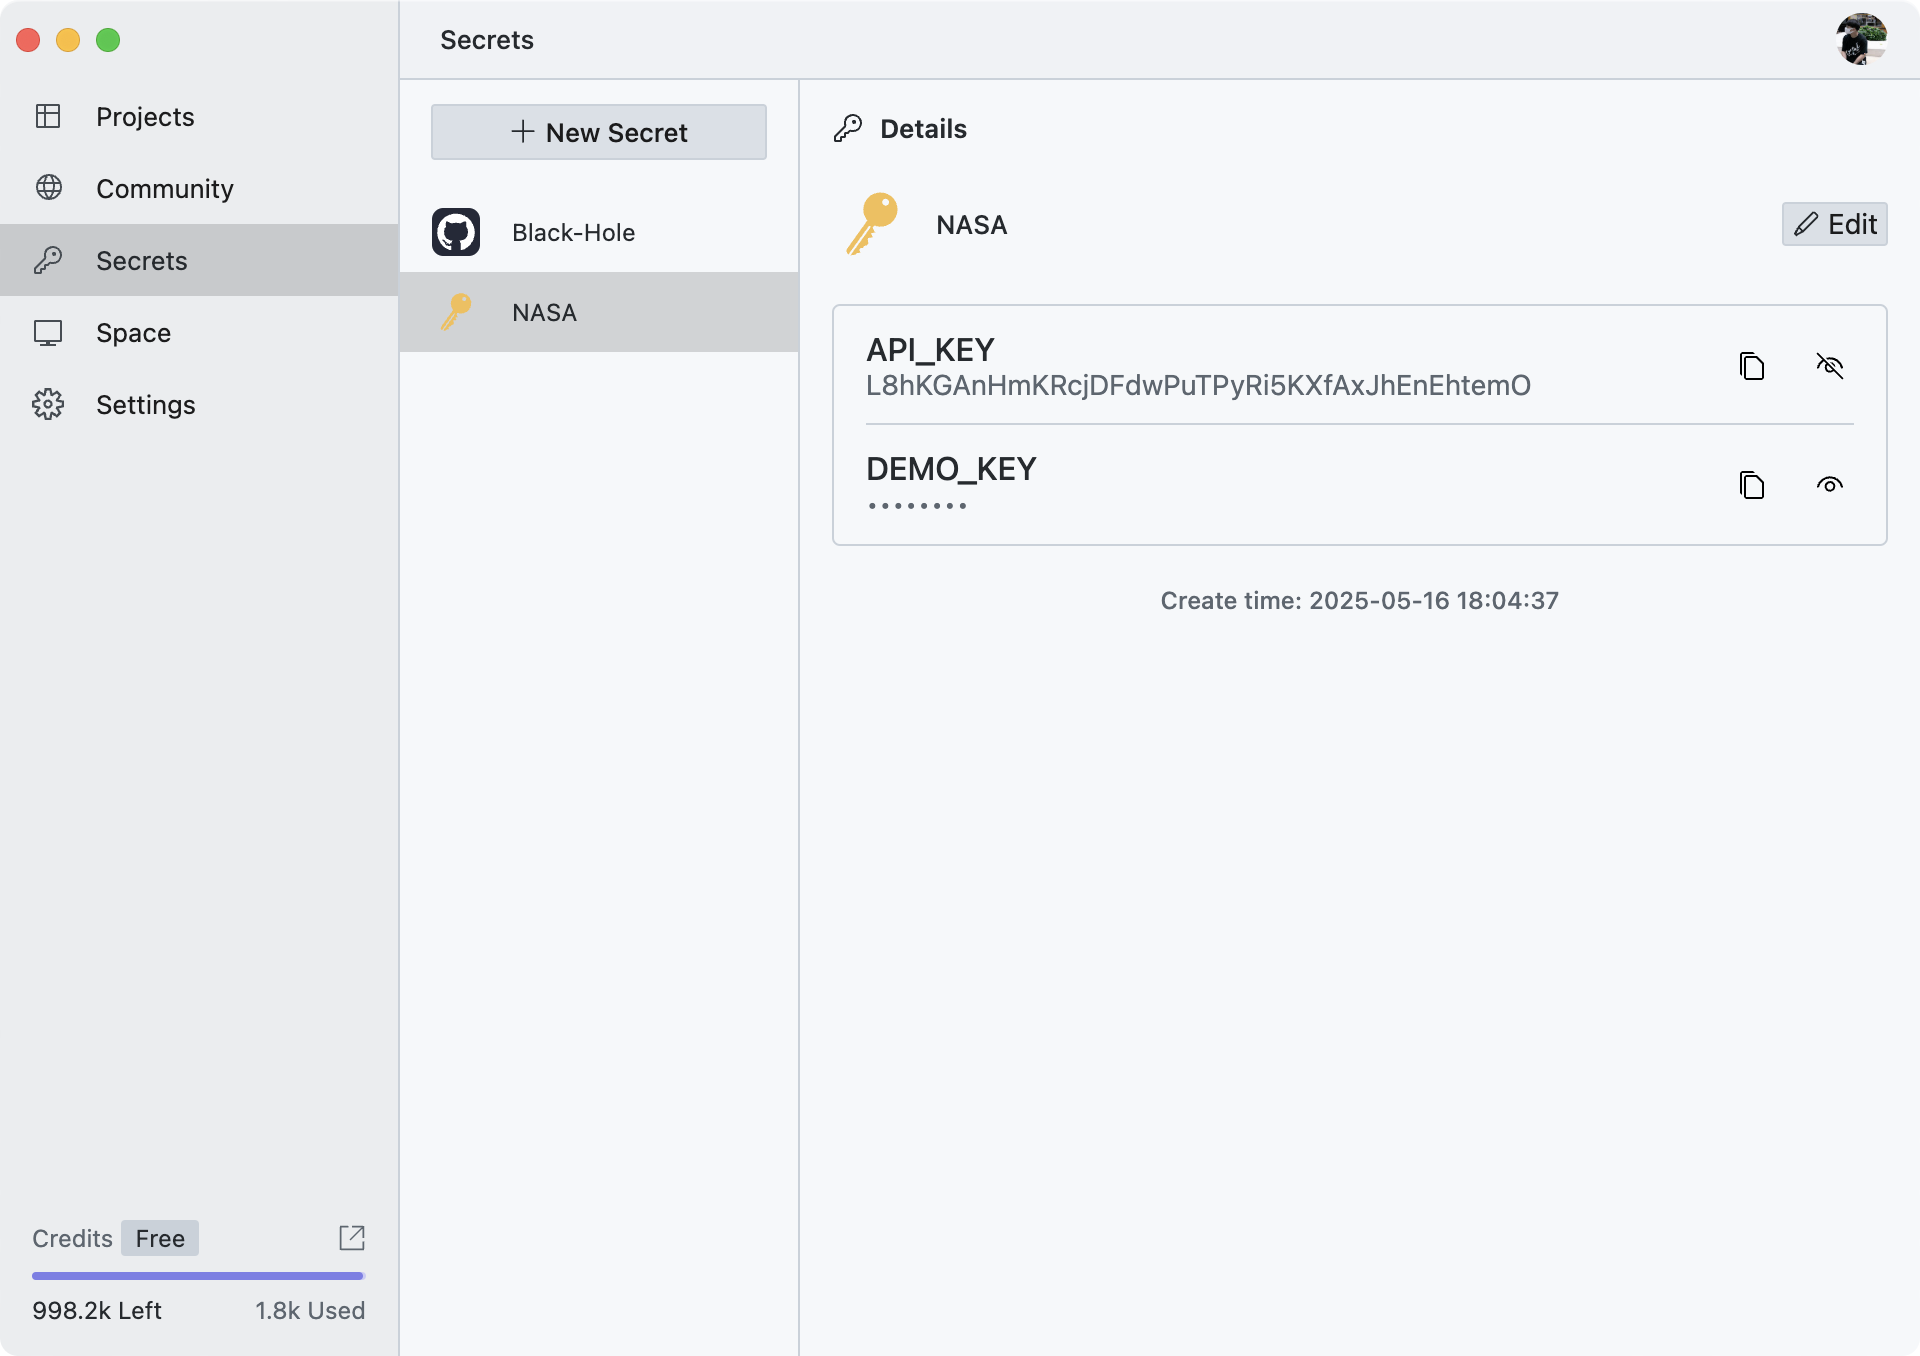
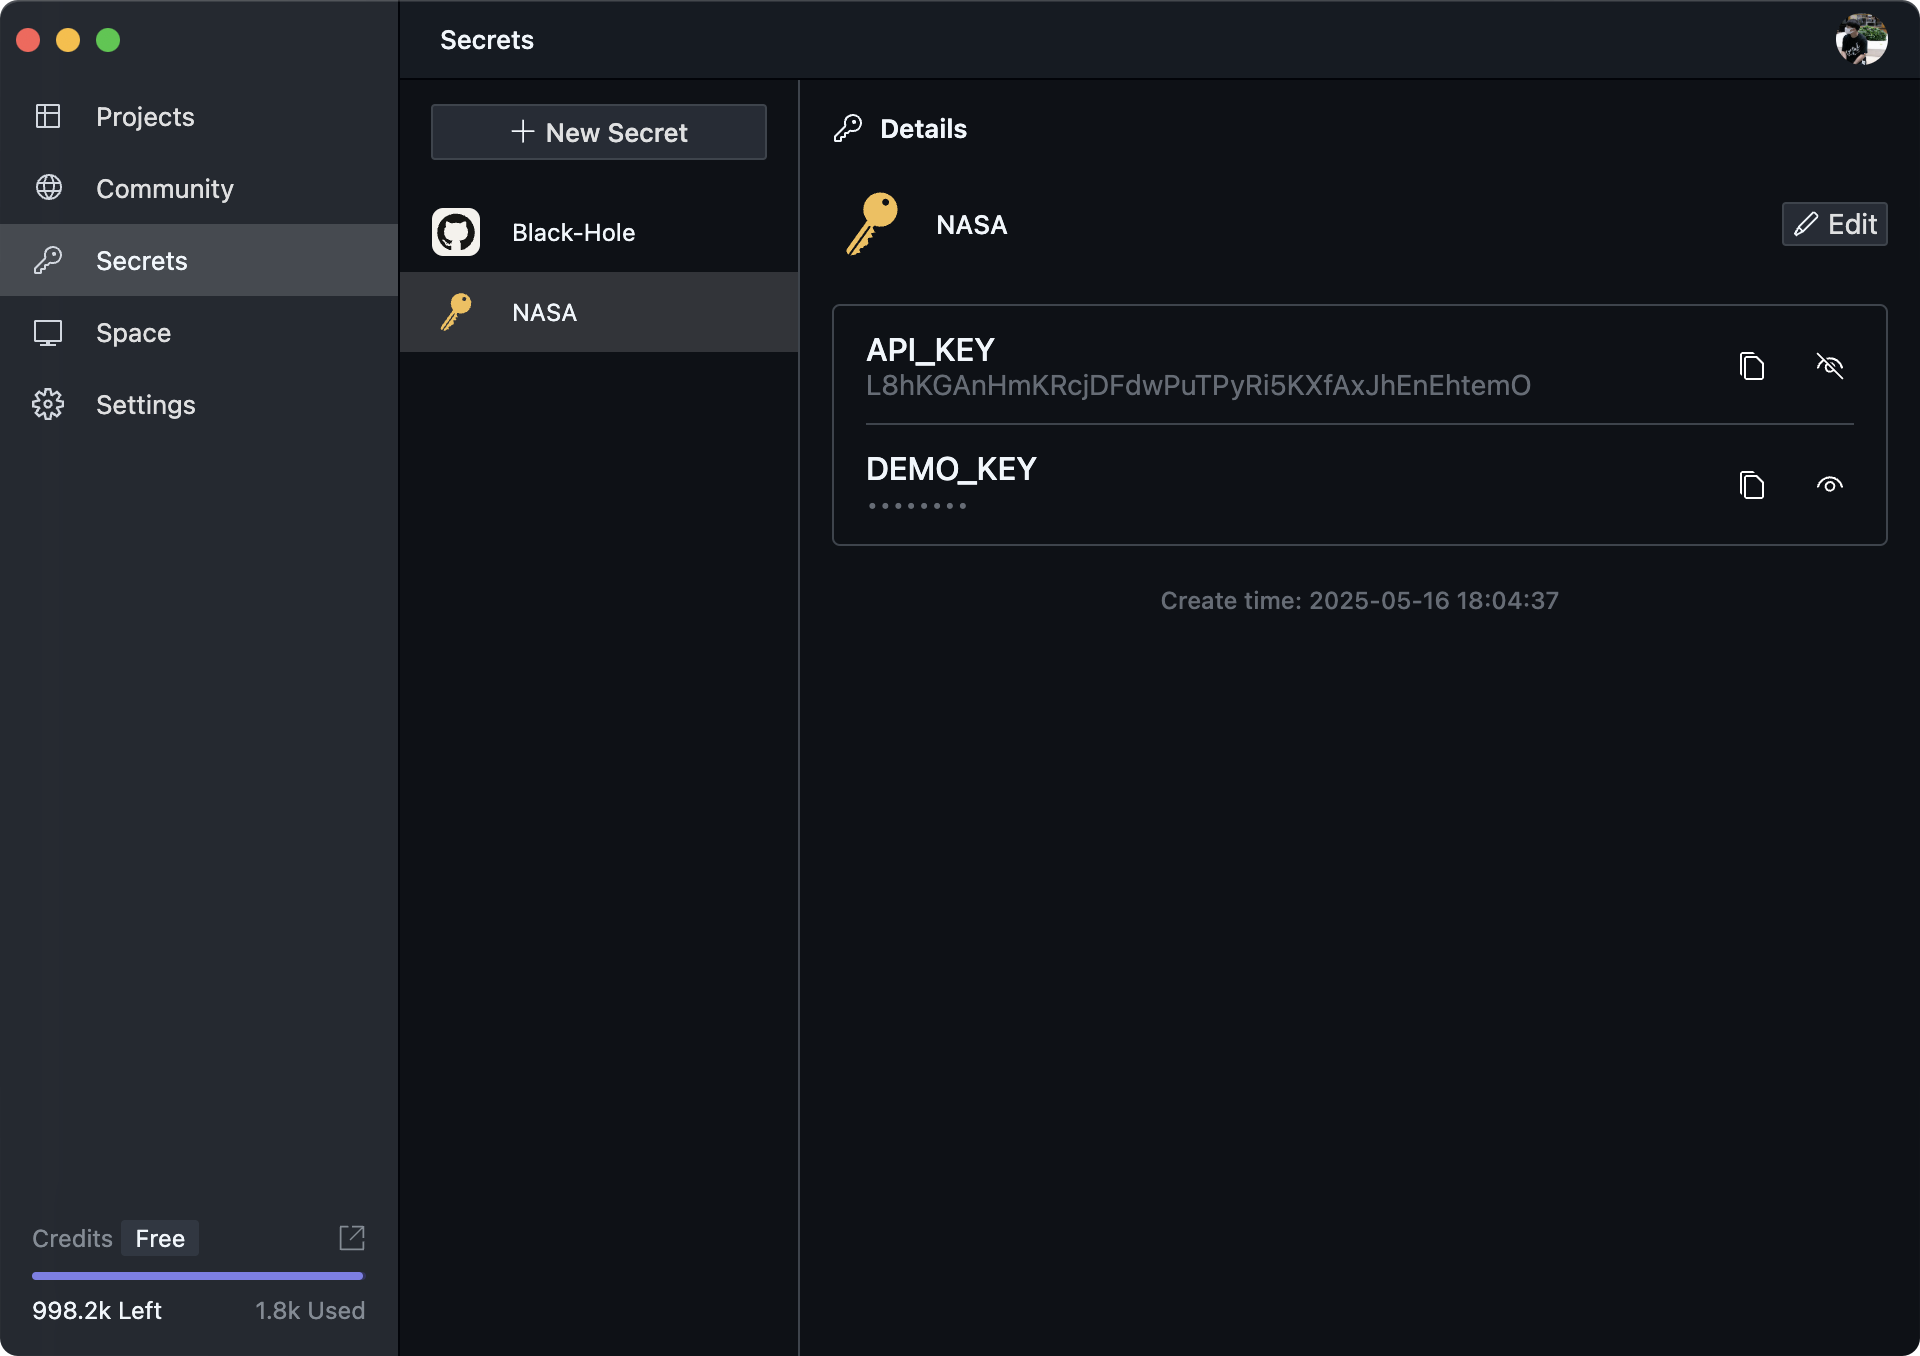
On this page, you manage secrets, including creating, deleting, updating, and inspecting them.
OOMOL Studio includes several preset secret types so you can create common credentials quickly without typing every key name manually:

Space Page
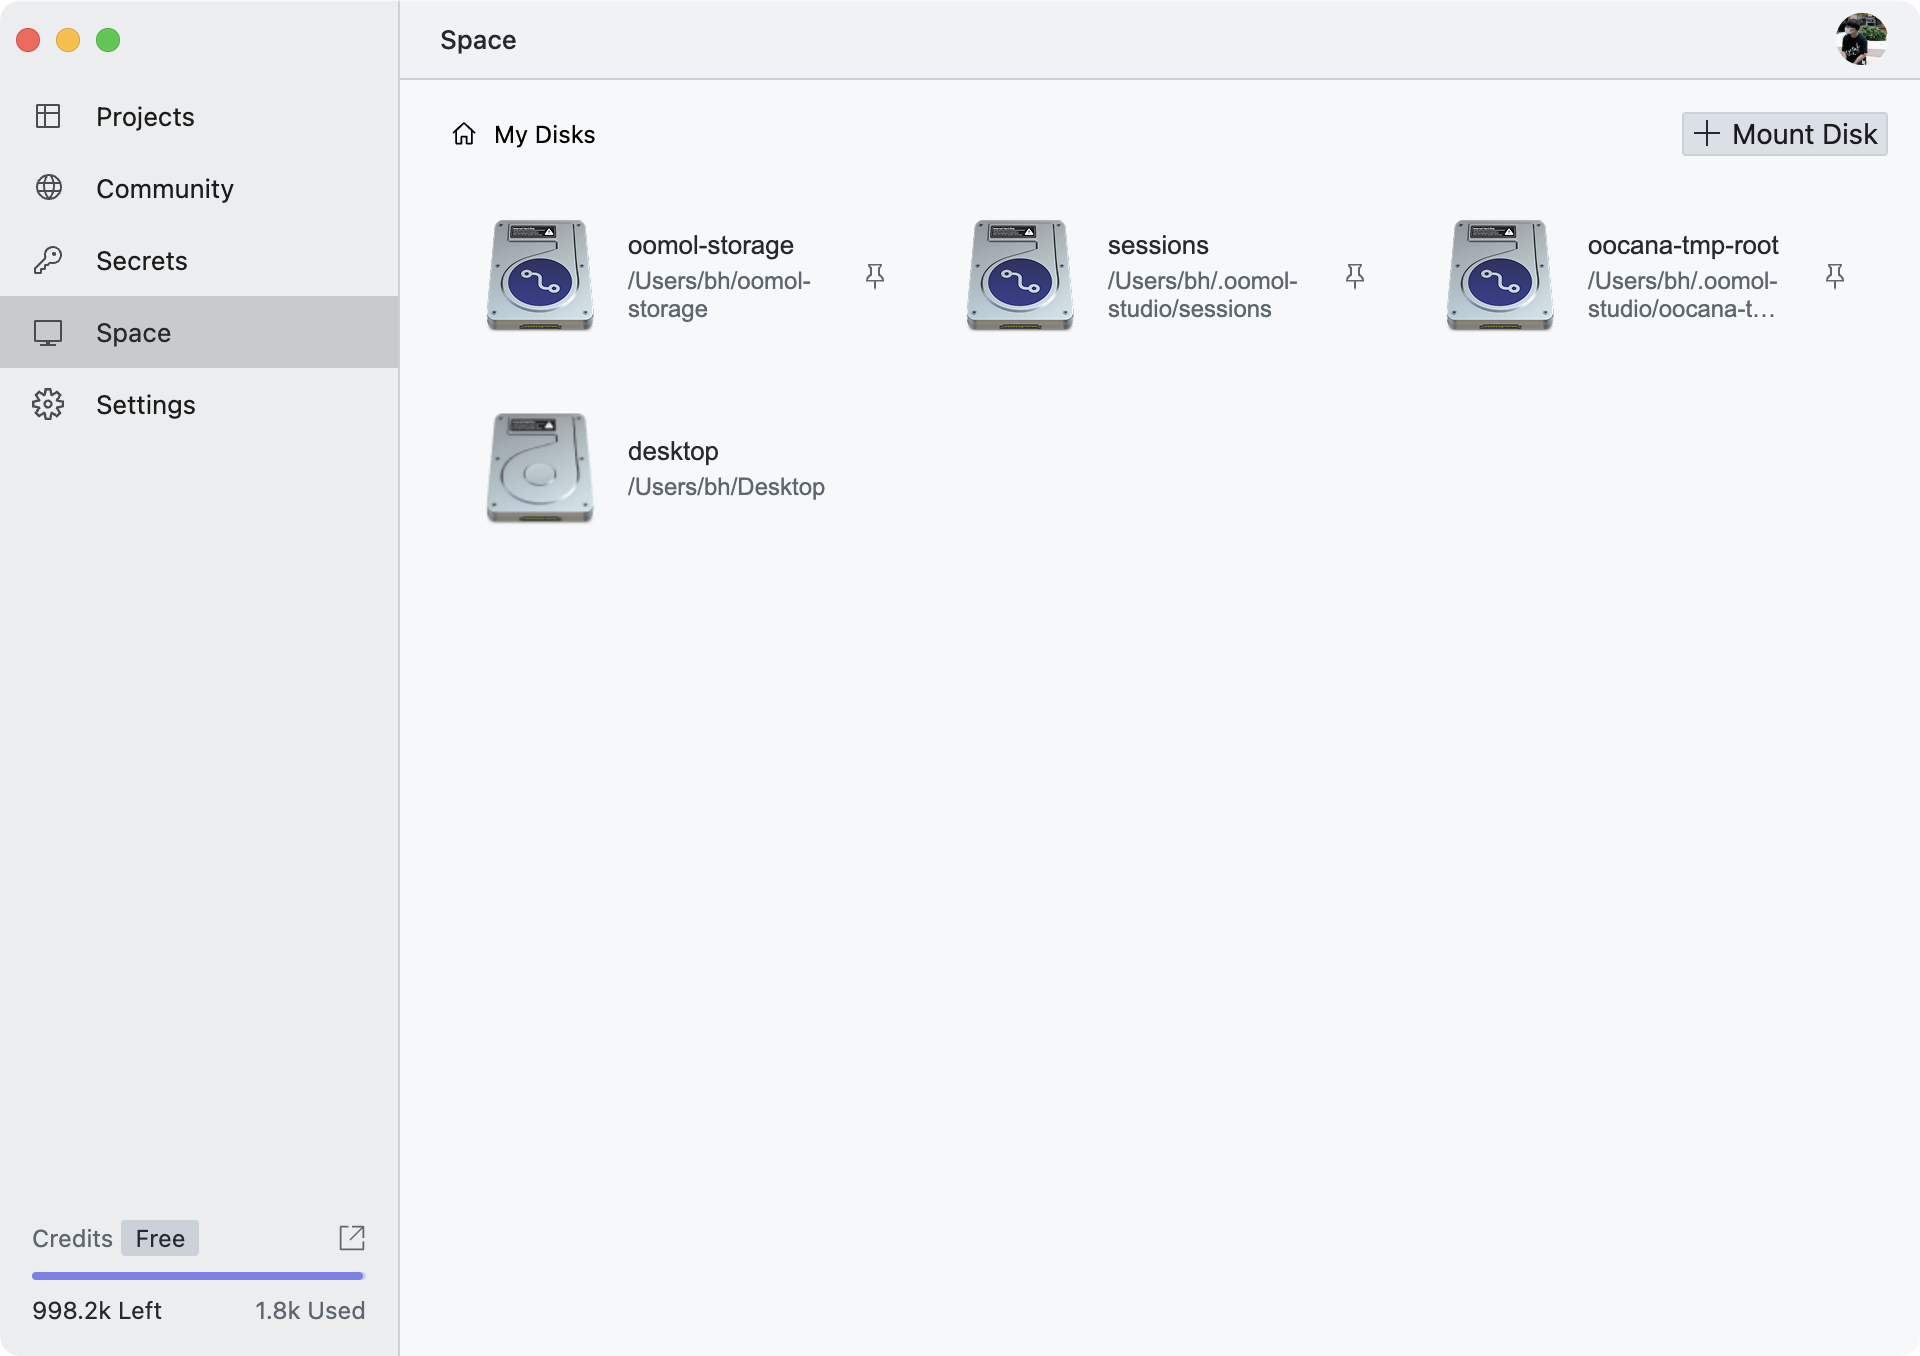
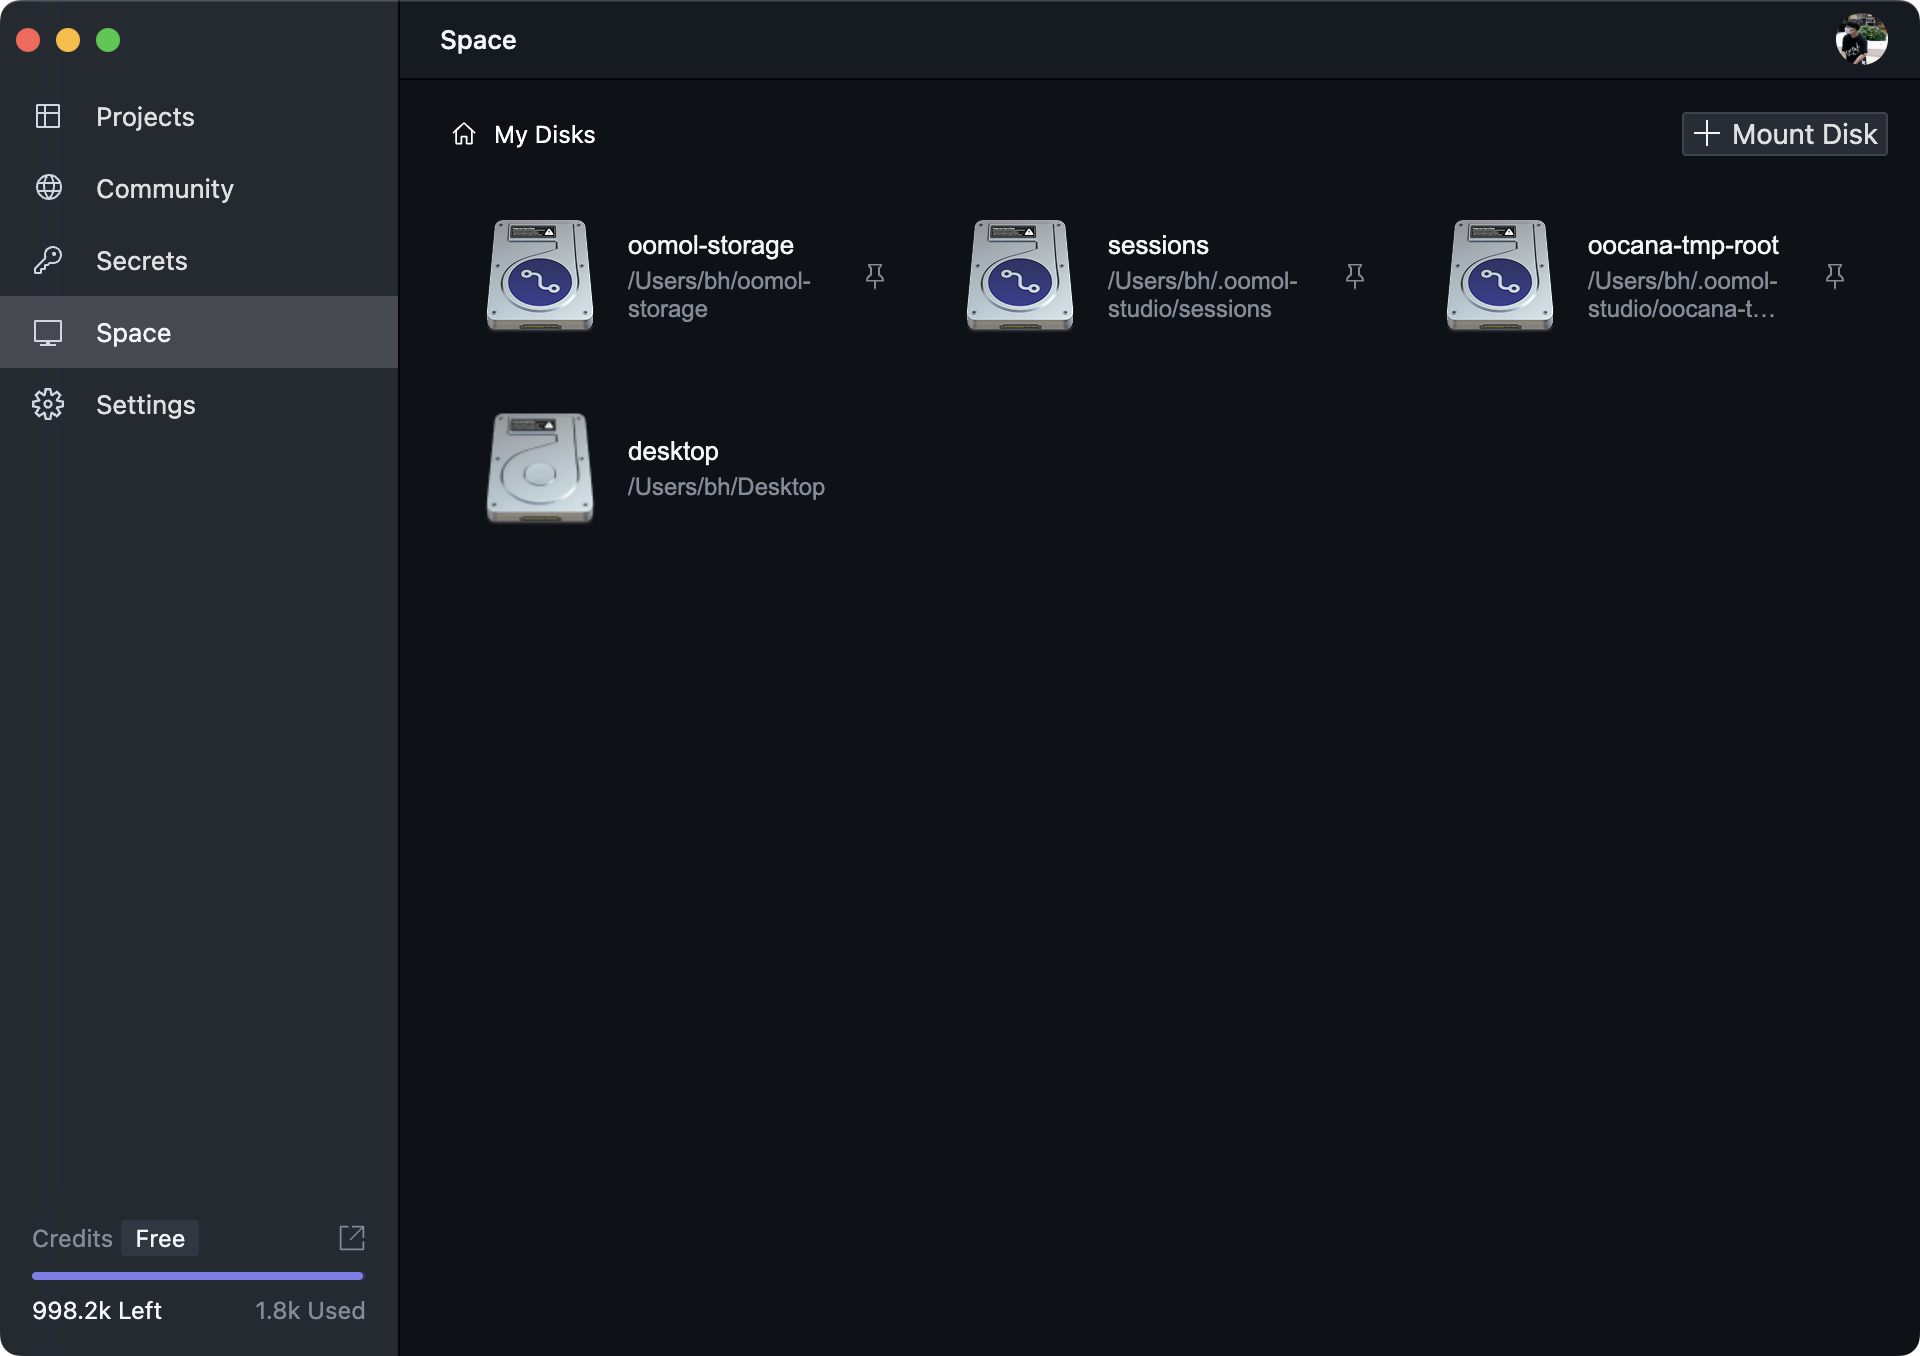
On this page, you can view, remove, and add mounted disks. These mounts become available inside the project's virtual environment.
In OOMOL Studio, a "Disk" is a storage mount point exposed to the virtual environment. It is similar to a container volume.
When you click Mount Disk in the upper-right corner, you can choose a local directory to mount. "Host Directory" means the directory on your computer, while "Container Directory Name" is the name shown inside the virtual environment.
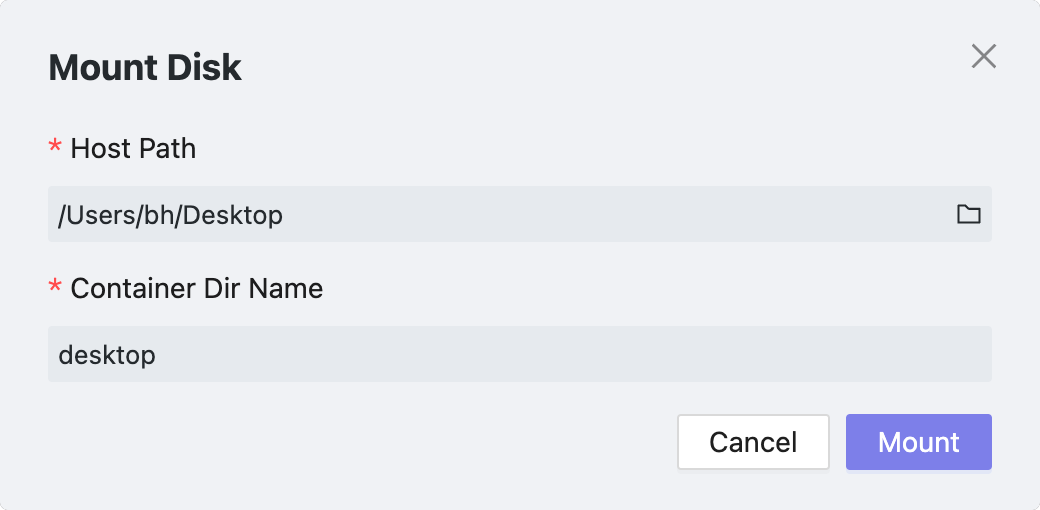
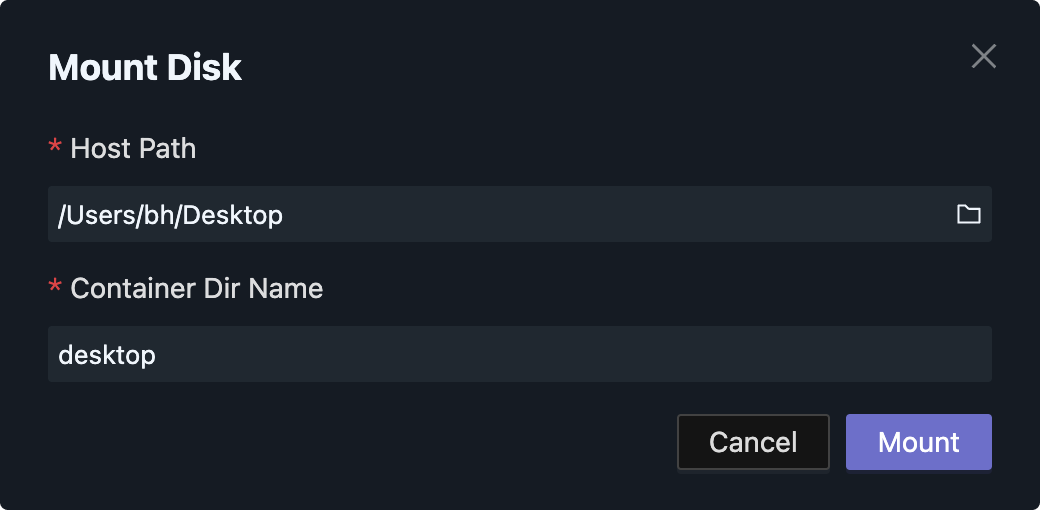
To keep mounts portable across systems, the "Container Dir Name" must start with a lowercase letter or number and may contain only lowercase letters, numbers, dots, underscores, and hyphens, up to 215 characters.
For security reasons, we only mount the following directories to the virtual environment by default:
-
~/oomol-storage->/oomol-driver/oomol-storage- The root directory for project data storage. Users can choose this directory or its subdirectories as a data storage directory before running a Flow.
-
~/.oomol-studio/sessions->/oomol-driver/sessions- The session directory for each run. Every time a Flow is run, OOMOL Studio creates a new nested directory in this directory as the current session directory.
- The nested rules for its creation are as follows:
/oomol-driver/sessions/{project_name}/{flow_name}/{timestamp}, whereproject_nameis the project name,flow_nameis the Flow name, andtimestampis the current timestamp. - As a Flow developer, you can use
context.sessionDirto obtain the path of the current session directory, suitable for sharing data during the current run.
-
~/.oomol-studio/oocana-tmp-root->/oomol-driver/oocana-tmp-root- A temporary directory for debugging. OOMOL Studio creates a new directory in this directory every time it runs, serving as the temporary directory for the current run. This directory has the following properties: it will not be automatically deleted on failure and will be automatically deleted on success.
- As a Flow developer, you can use
context.tmpDirto obtain the path of the temporary directory for the current run.
Settings Page
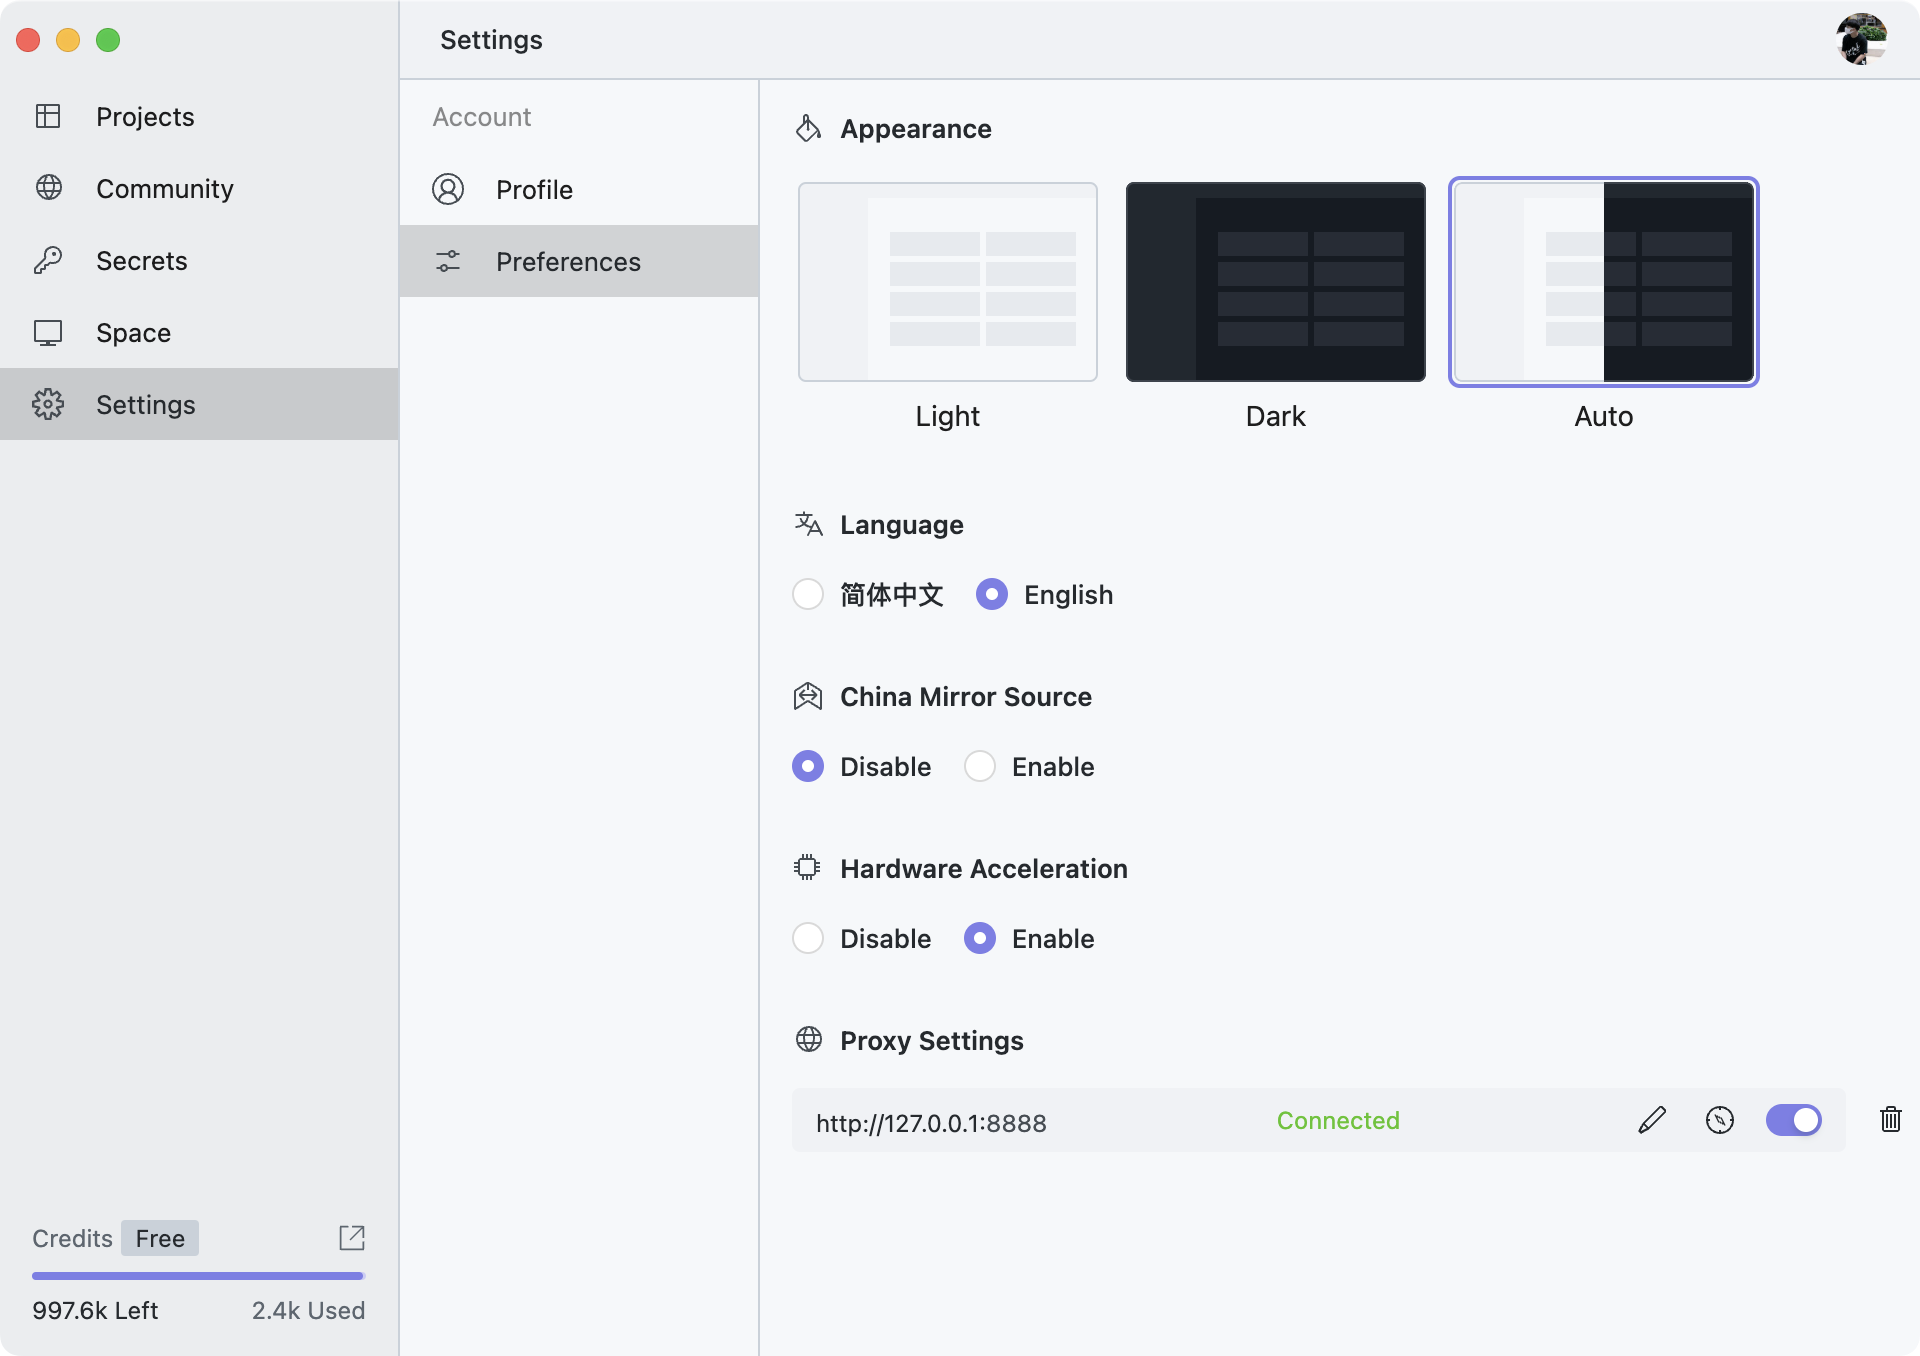
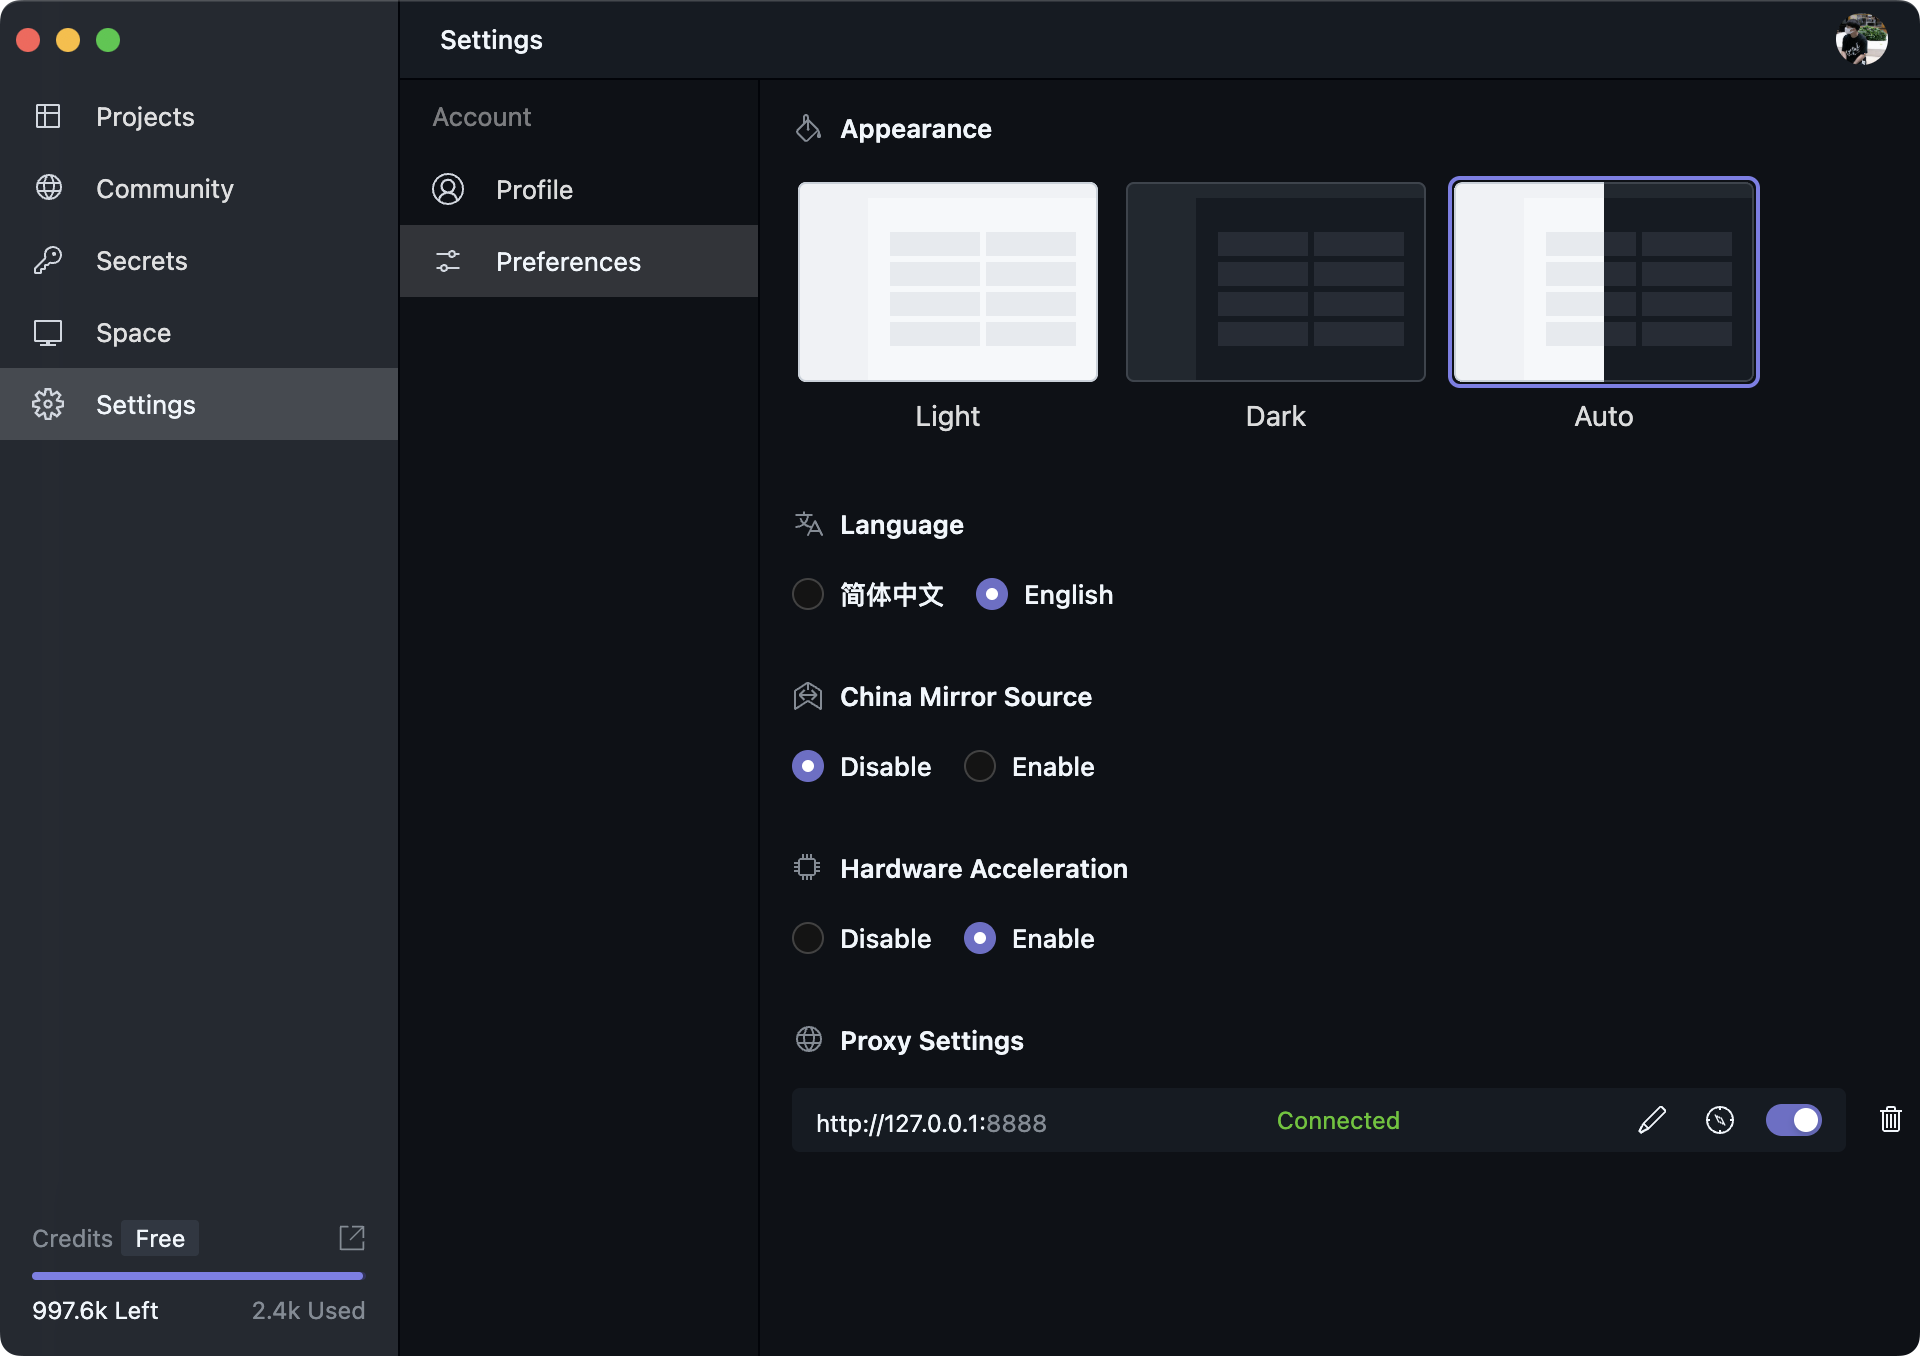
On this page, you can configure OOMOL Studio settings such as theme, language, mirror sources, and proxy behavior.
In Windows systems, a new "OVM Folder" will be added here, which is used to change the location where OVM data is stored. Since OVM data can increase in size over time, we recommend placing it on a larger disk. By default, OVM data is stored in the directory C:\Users\{username}\.oomol-studio\ovm.
For information on migrating the "OVM Folder," please see here